
Whistl is the second largest postal operator in the United Kingdom. Use this app to integrate Whistl shipping services to Linnworks to create & print labels, and to submit manifests to Whistl
Whistl Shipping Integration for Linnworks:
Whistl Shipping Integration for Linnworks
Step 1: Integrate the Shipping Provider into Linnworks.net:
To use Whistl, install the Connector from within Linnworks.net.
1. Log into Linnworks.net
2. Select Settings in the left-hand menu bar
3. Select the Shipping option.
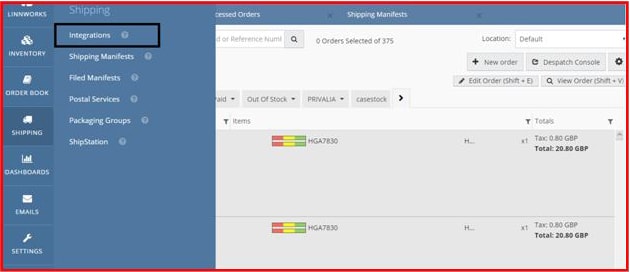
4. Click on Integrations.
5. Select Add Integration.

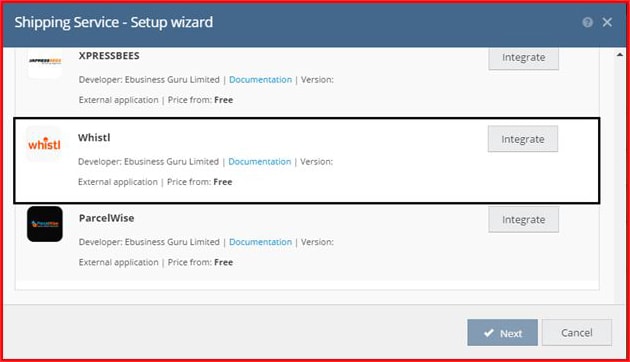
6. Locate Whistl on the list of available Shipping Providers, and click Integrate.
7. The first thing you will see is a Third-Party Integrations Disclaimer. After reading this, click on the link at the bottom to review the Terms and Conditions.
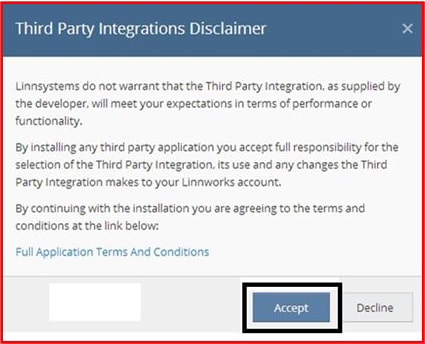
8. Click Accept to continue.
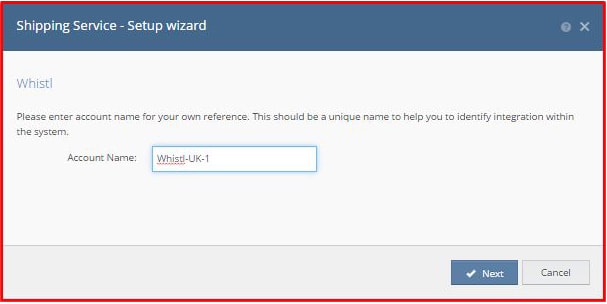
9. Enter an account name to start the integration process. Click Next.
10. Tick I agree to the terms and conditions, to confirm you’re happy to proceed.
11. Click Next to continue integrating Whistl
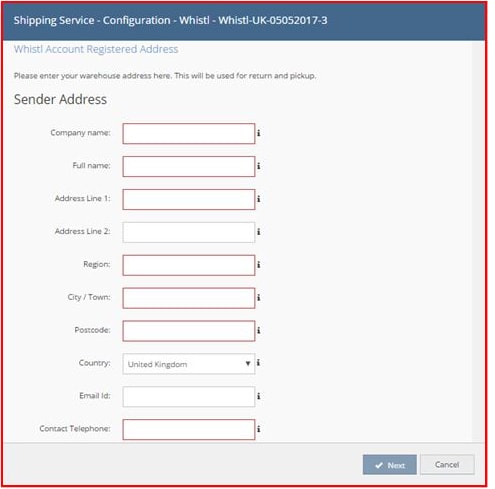
12. Enter the information into the fields outlined in red (as a minimum) regarding the details of the Whistl account’s registered user
A) Sender Address:
A.1) Company Name: Enter Sender’s Company Name
A.2) Full Name: Enter Sender’s Contact Person Name
A.3) Address1: Enter Sender’s Address Line 1
A.4) Address2: Enter Sender’s Address Line 2
A.5) Region: Enter Sender’s Region
A.6) City / Town: Enter Sender’s City or Town
A.7) Postcode: Enter Sender’s Postcode
A.8) Country: Select Sender’s Country
A.9) Email ID: Enter Sender’s Email
A.10) Contact Telephone: Enter Sender Contact Number
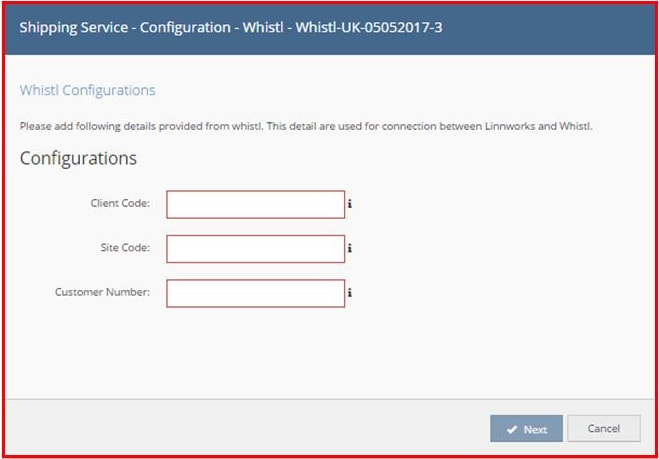
Whistl Configuration:
These details authorise Linnworks to connect to Whistl on your behalf.
B) Configurations
B.1) Client Code: This is provided by Whistl to identify you to their system
B.2) Site Code: This is provided by Whistl to identify the location they will collect your packages from
B.3) Customer Number: This code is provided by Whistl to identify you, in case there are one or more sub-accounts
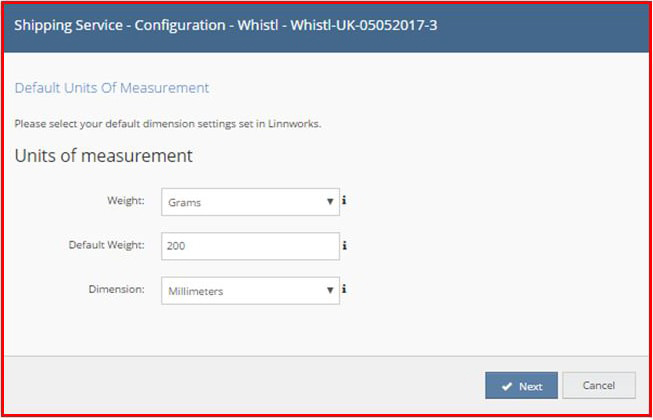
C) Units of measurement:
C.1) Weight: Select the unit of weight that you have specified in Linnworks. (To check, in Linnworks.net select Settings, then General Settings. Scroll down to the Units of Measurement section.
C.2) Default Weight: Enter a Weight value here. This will be used if an order contains items without weight, and will be sent to Whistl instead of 0.
C.3) Dimension: Select the unit of measurement that you have specified in Linnworks. (To check, in Linnworks.net select Settings, then General Settings. Scroll down to the Units of Measurement section.
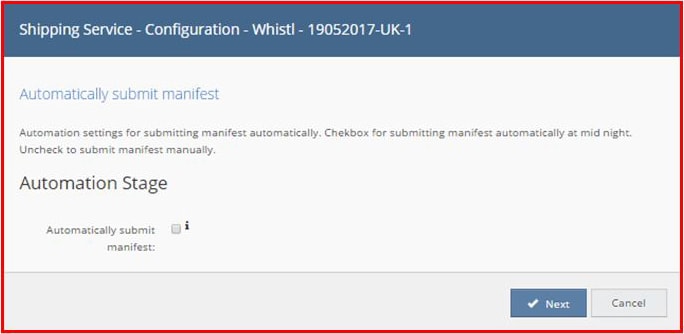
D) Automation Stage:
This is unchecked by default (Automatically submit manifest).
Tick, and activate this setting if you want Linnworks to automatically file a Whistl final manifest at midnight, every day.
If this setting is disabled, you must submit manifests manually.
13. Click Next to continue.14. To complete the integration, click Close.
Your Whistl integration should now show under Shipping, and Integrations.
Step 2: Printer Config:
The next step is to configure the printer that will be used for your Shipping Labels.
1) In Linnworks.net, Select Shipping.
2) Select Integration.
3) Locate the Whistl entry, and click the Printer Config button.
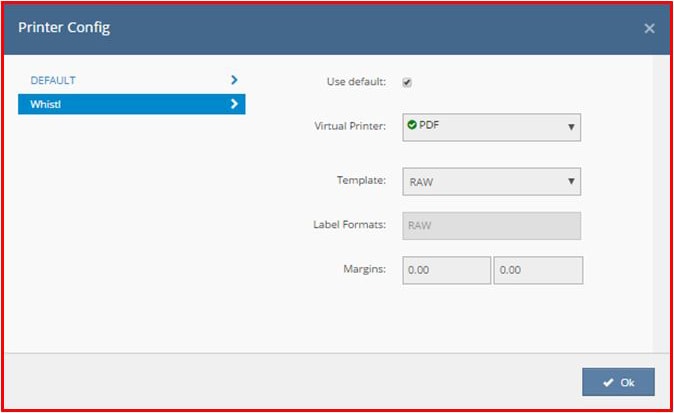
4) Select the Default entry on the left (in blue in the Edit Printer Config window)
5) Review the following settings:
A) Use Default (Only shows for user account entries other than Default): Tick this option to use the settings from Default for this user account.
B) Virtual Printer: Select a printer from those available through Virtual Printer to be used when printing Whistl labels (Defaults to PDF).
C) Template: Set a label template option – Available options may vary depending on the selected printer.
D) Label Formats: This shows formats supported by the selected Virtual Printer.
E) Margins: Controls how much space (in inches) to leave as a margin on each label.
Step 3: Quote Settings:
1) In Linnworks.net, select Shipping.
2) Select Integration.
3) Locate the Whistl entry, and click the Quote Settings button (as above).
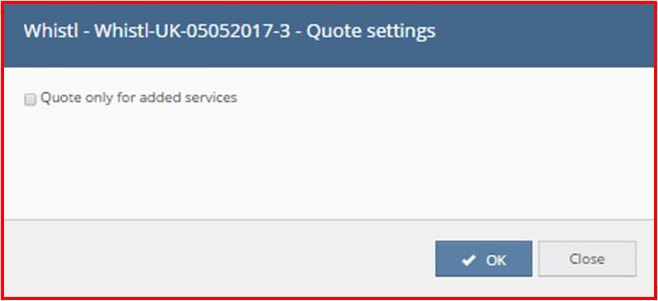
4) This opens the Edit Quote Settings window. The list will initially be blank.
5) Tick the option Quote only for added services.
6) Click OK at the bottom of the Quote Settings window to apply changes.
Step 4: Edit Config :
1) In Linnworks.net, select Shipping.
2) Select Integration.
3) Locate Whistl, and click the Edit Config button (as above).
4) This opens the Edit Config window.
5) Check and edit the details that relate to the Sender’s Address and the Service Configuration options, then click Next.
6) After clicking Next, you will receive confirmation that the configuration has saved.
Step 5: Services:
1) In Linnworks.net, select Shipping.
2) Select Integration.
3) Locate the Whistl entry, and click Services (as above).
4) The Services window opens.
5) Use the dropdown list in the top left-hand corner to select the shipping service(s) from Whistl.
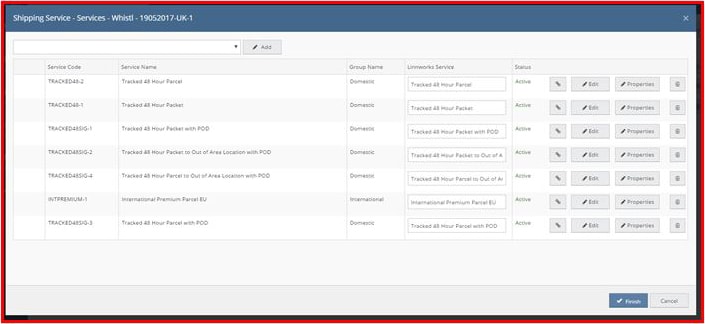
6) Select one of these Services you want available for use within Linnworks. Click Add to add the service to the list of Active Services.
7) You can edit the Service Name by clicking on it. It’s advisable to adjust the Service Name as appropriate, particularly if you have multiple copies of the Whistl Integration installed – this will make it easier to identify them.
8) The Option button  allows you to Map the current service name to any existing shipping service.
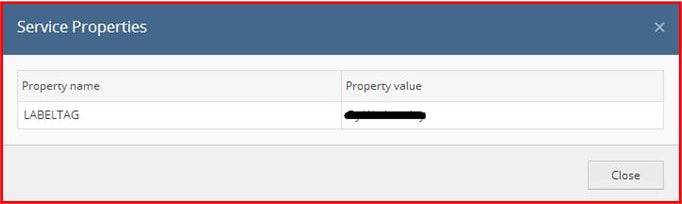
9) Click Properties  to open a new window. This displays available properties of the select shipping service.
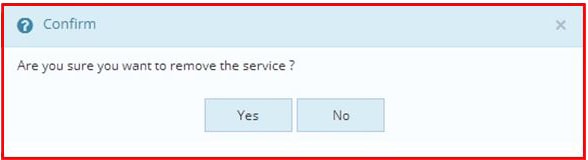
10) Click Delete  to remove a service. You’ll be asked to confirm your choice.
11) If you select Yes, the selected service will be removed from the list of Shipping Services.
12) If you select No, the selected Shipping Service will remain in the list.
Step 6: Delete Shipping Integration:
1) In Linnworks.net, select Shipping.
2) Select Integration.3) Locate the Whistl entry, and click the Delete button (see above).
4) This opens the Delete window.
5) If you click Yes, the Whistl Shipping integration will be removed from the list of Shipping integrations.
6) If you click No, Whistl will remain in the list of available Shipping Integrations.
