Step 1: Integrate the channel into linnworks.net
To use The Range channel, you must first install it from within linnworks.net.
- Login to linnworks.net
- Select settings in the left-hand menu bar
- Settings in channel integration option used
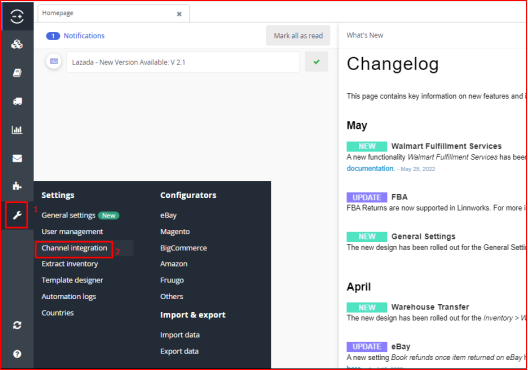
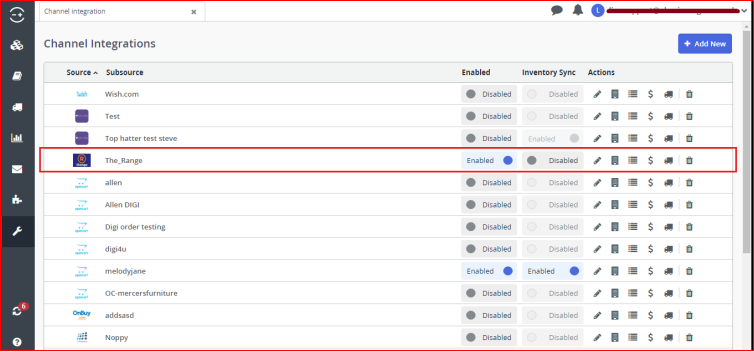
- Select the channel integration option. Screen will be display below:
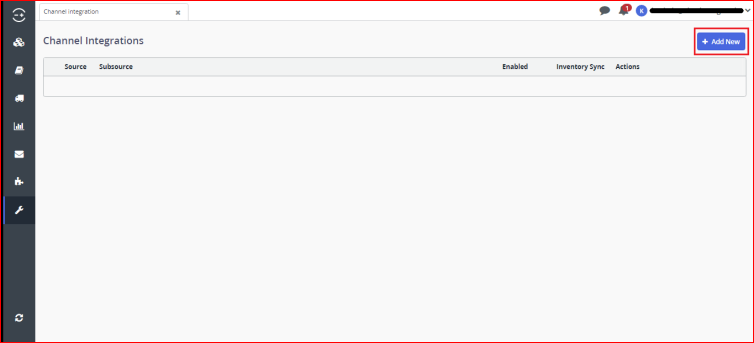
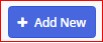
By clicking on this button, we can add new The Range channel integration.
- Select add new to return a list of available channel integrations. Screen will be display below:
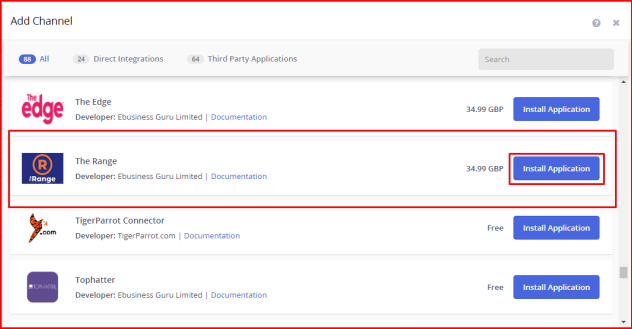
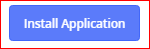
- Locate The Range on the list, and click on install application button.
By clicking on this button, we can create The Range channel integration. Screen will be display below:
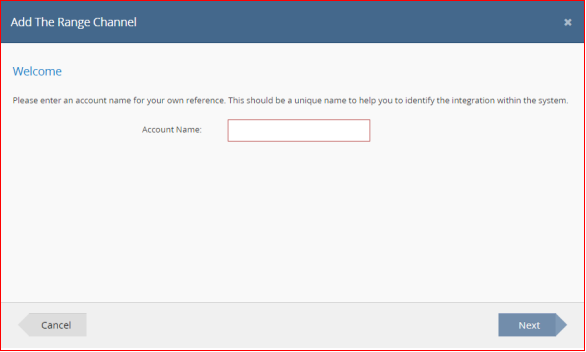
- Enter your The Range account name to start the actual integration. And then click on next button for the next step.
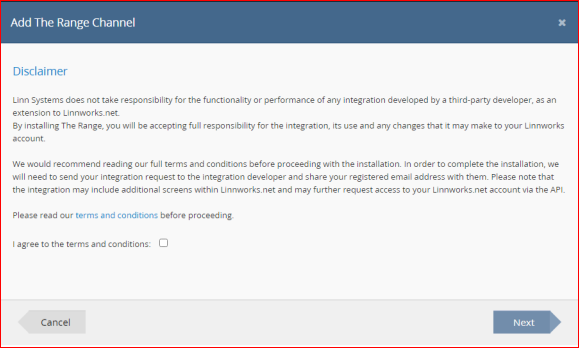
- After reading the disclaimer, please tick ‘I agree to the terms and conditions’ and next to continue integrating The Range channel integration.
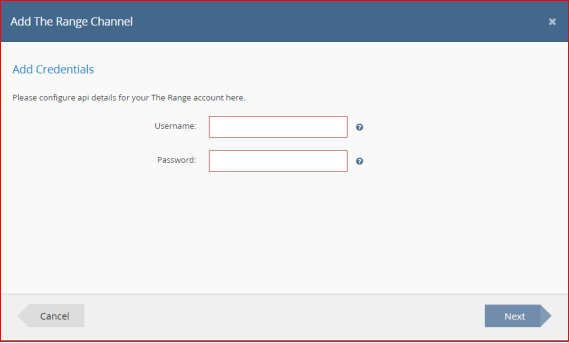
- Fill the all details for The Range channel. And then click on next button for the next step.
Username: This is your username of the Range account trying to connect with Linnworks.
Password: This is your password of the Range account trying to connect with Linnworks.
Then click on next button to go next screen, screen will be display below.
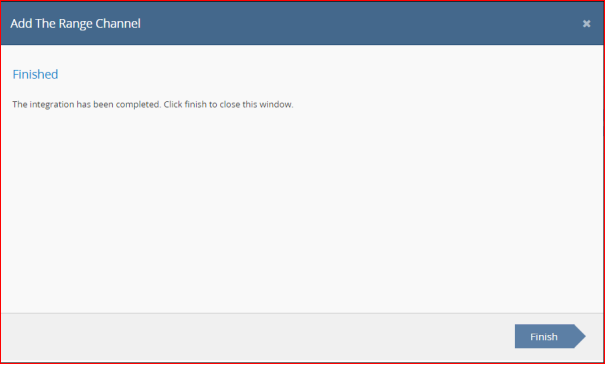
The Range channel integration process completed then finish button click to save all details.
- To complete the integration, The Range integration should now show in linnworks.net channel integrations.
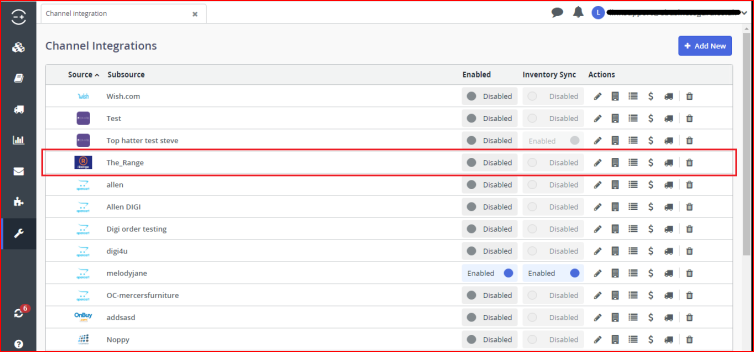

By clicking on this toggle button, we can enable this channel and start to enable integration. Screen will be display below:

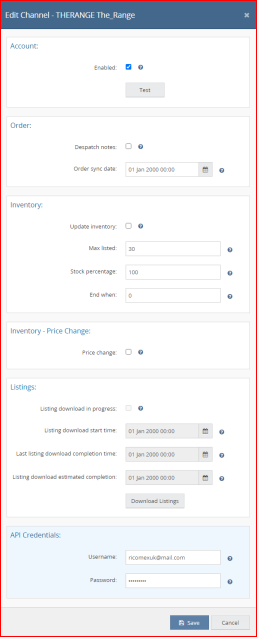
Edit channel for The Range setting. Account, order, inventory, inventory price change, listings, API credentials.

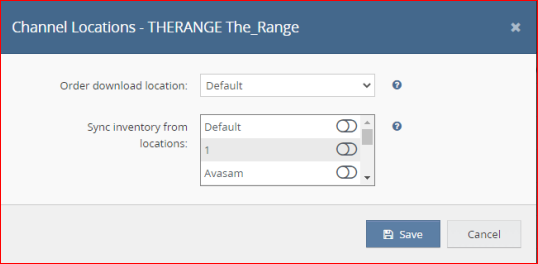
Channel locations screen will be display below:

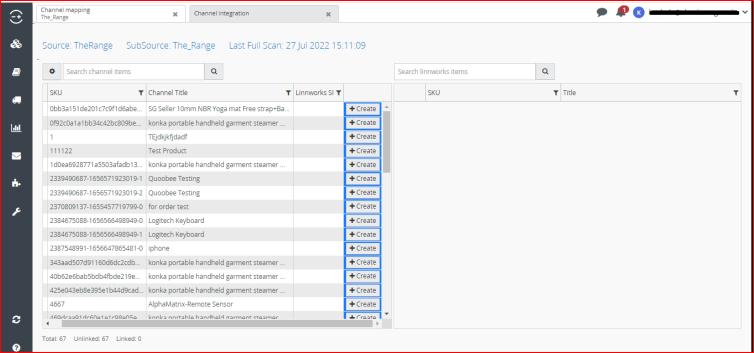
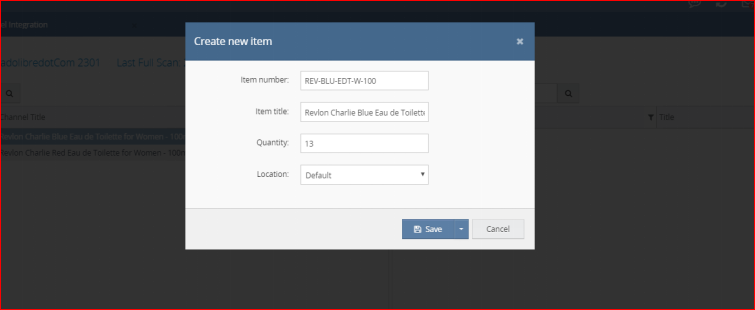
Inventory mapping screen will be display below:

Create button click to popup open screen will be display below:

Edit payment methods screen will be display below:
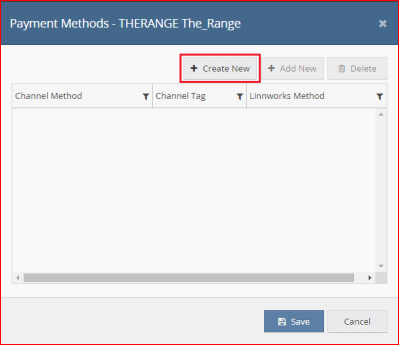

Create new channel payment mapping screen will be display below:


Edit shipping allocation screen will be display below:
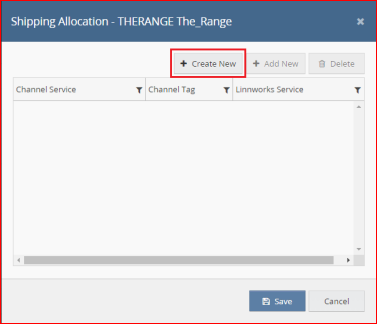
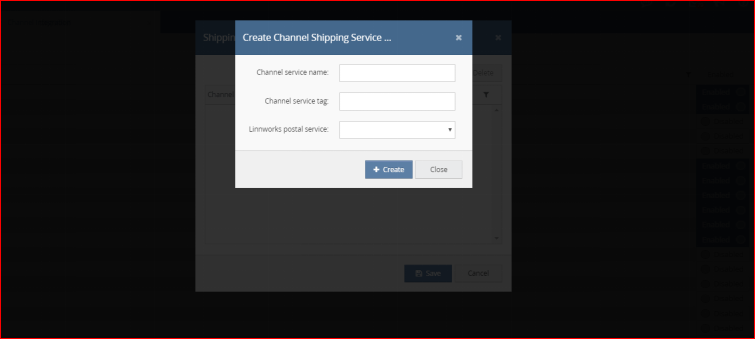
Create channel shipping service screen will be display below: